
















Guide
Cutting at an angle with a thermal knife

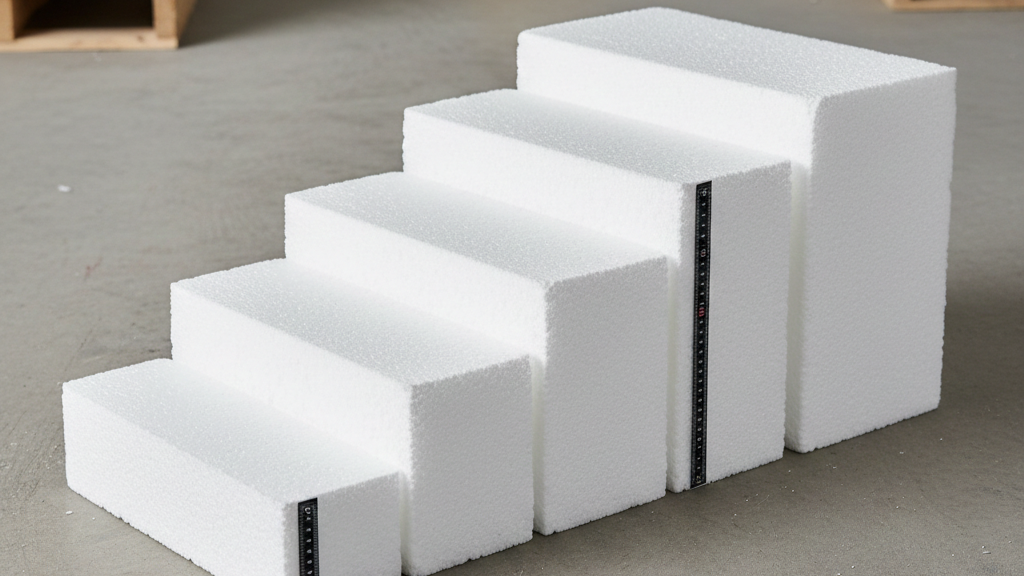
Cutting at an angle with a heat gun is one of those skills that sets a beginner apart from an experienced professional. Bevels around windows, building corners, decorative elements—all of these require precise cutting at a specific angle. Sound complicated? In practice, all it takes is a few simple rules and a little practice. In this guide, we’ll show you how to prepare for a bevel cut, which technique to use, and how to avoid common mistakes. Learn how to achieve clean, even edges at any angle!
Key Rules for Angled Cuts:
- Material Stabilization – When making an angled cut, the lateral forces are greater than when making a straight cut.
- Fixed angle – Even small fluctuations create visible ripples along the edge.
- A slower pace – Bevel cuts require a more controlled cut than straight cuts.
- Line Marking – Drawing the angle precisely before cutting saves material.
Preparing to Cut at an Angle with a Thermal Knife
Before you start cutting, you need to prepare thoroughly—this is even more important for bevel cuts than for straight cuts. Thermal knife for cutting polystyrene foam It requires a stable surface and a secure grip. Start by checking that the work surface is level and doesn't wobble. Next, gather your measuring tools – A carpenter's square, a ruler, and a marker are the basics. Some people also use cardboard templates for repetitive cuts.
The material must lie flat and not shift during operation. When cutting at an angle, the forces acting on the Styrofoam tend to push it to the side—this is normal, and you need to be prepared for it. Use weights on both sides of the cut line, but leave enough space to move the knife freely. Sandbags or regular bricks wrapped in a cloth work well—this prevents them from scratching the fabric.
How do you choose the cutting angle for Styrofoam?
The most common angles in construction work are 45° and 22.5°. A 45-degree angle is used for the exterior corners of a building – Two pieces cut at this angle form a perfect 90° angle when joined together. A 22.5° angle is useful for more complex joints and decorative elements. Before you start cutting, think carefully about which way the bevel should go—it’s easy to make a mistake and cut the panel „toward the center” instead of „toward the outside.”.
Typical applications for different cutting angles:
- 45 degrees – building corners, window frames, trim moldings.
- 22.5 degrees – decorative elements, octagonal shapes, intricate joints.
- 30 degrees – certain architectural details, such as hexagons.
- Any angle – cutting to fit existing components, repairs, custom designs.
Angle-Cutting Technique with a Hot Knife
Samo Cutting requires more concentration than when cutting straight lines. Keep the knife at a steady angle throughout the entire cut—easier said than done, but practice makes perfect. Minova 7Y 250W Thermal Knife It has a swivel head with five positions, which makes it easier to maintain a comfortable working angle without twisting your wrist. Guide the tool smoothly, without jerks or pauses.
The cutting speed should be slightly slower than when making straight cuts. Why? When cutting at an angle, the wire travels a longer distance through the material—it enters at an angle, so it cuts through more Styrofoam than a vertical cut. If you move too fast, the blade will start to jerk, and you’ll end up with a jagged edge. It’s better to slow down and get a smooth surface the first time than to have to fix it later.
Cutting Straight and Beveled Edges
A guide is helpful for long bevel cuts—it can be a simple aluminum strip screwed to the tabletop or a professional guide system. NiCr 80/20 resistance wire It handles angled cuts well, but requires a steady hand. If you don't have a guide, you can move the knife along the strip you're holding in place – It's an easy way to keep a straight line.
When combining straight cuts with bevel cuts, plan your work sequence. It’s usually easier to make all the straight cuts first and then move on to the bevels. This ensures your material remains more stable during the more difficult cuts. If you need to cut a piece with several bevels, start with the smallest piece—any mistakes will be less costly.
Knife Settings for Precision Cutting
Temperature and speed are the two factors that determine the quality of the edges. Tips for Cutting Styrofoam Perfectly They make it clear—it’s better to cut more slowly at a lower temperature than quickly at a high one. This rule is even more important when cutting at an angle. Too high a temperature causes excessive melting, and when cutting at an angle, distortions are more noticeable than with a straight cut.
What kind of knife should I use to cut Styrofoam?
For angle cuts, tools that allow you to adjust both the temperature and the blade position work best. Our cutting machine Procut Base It features an angle lock and allows you to cut at a 45° angle in one smooth motion without having to manually hold the position. This makes it much easier to work when making a large number of repetitive cuts.
In our store, you'll also find styrofoam cutting device with a variety of functions—from simple knives to advanced cutters.
Temperature of the wire used to cut Styrofoam
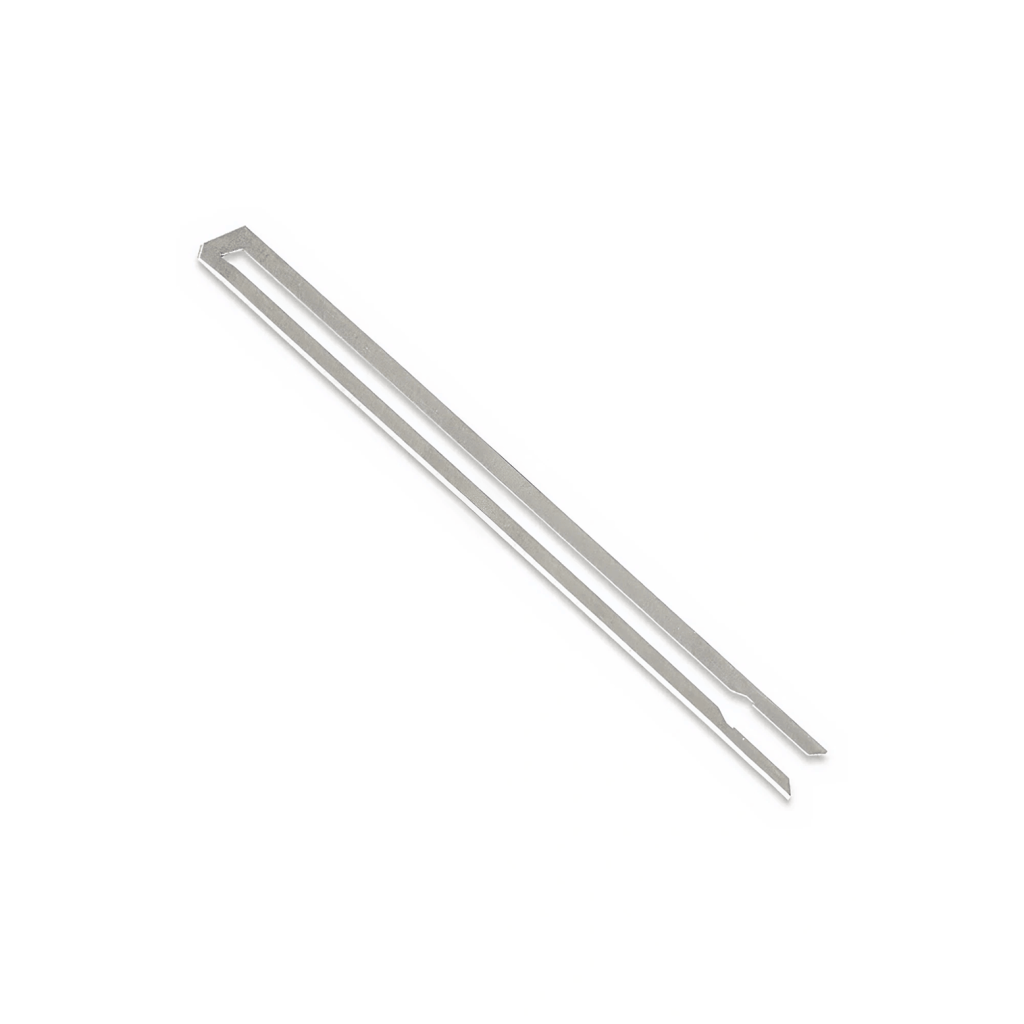
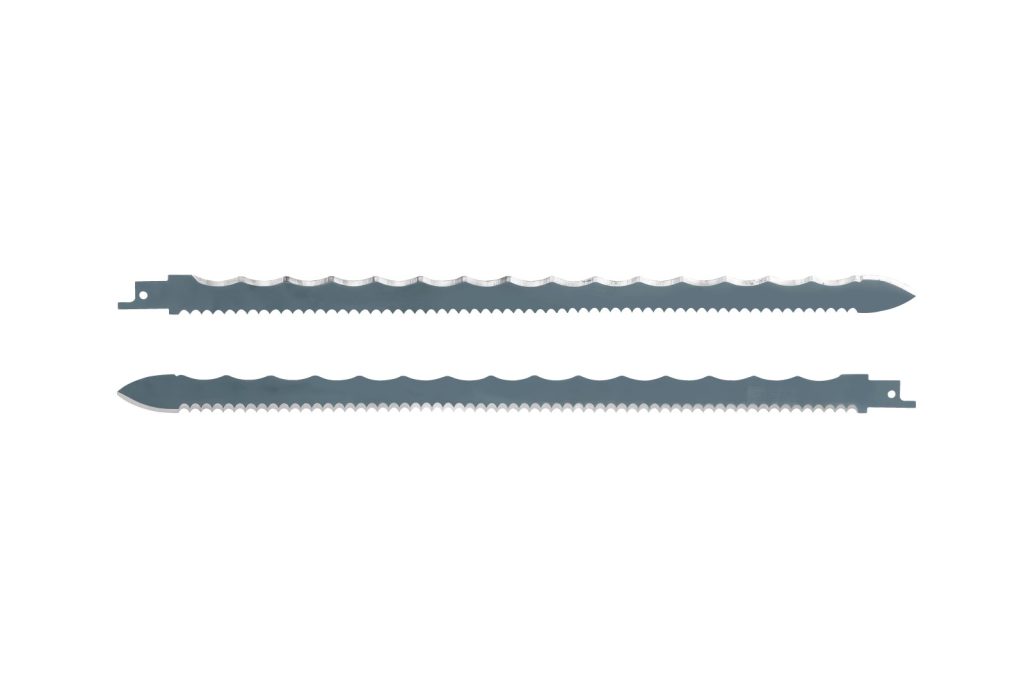
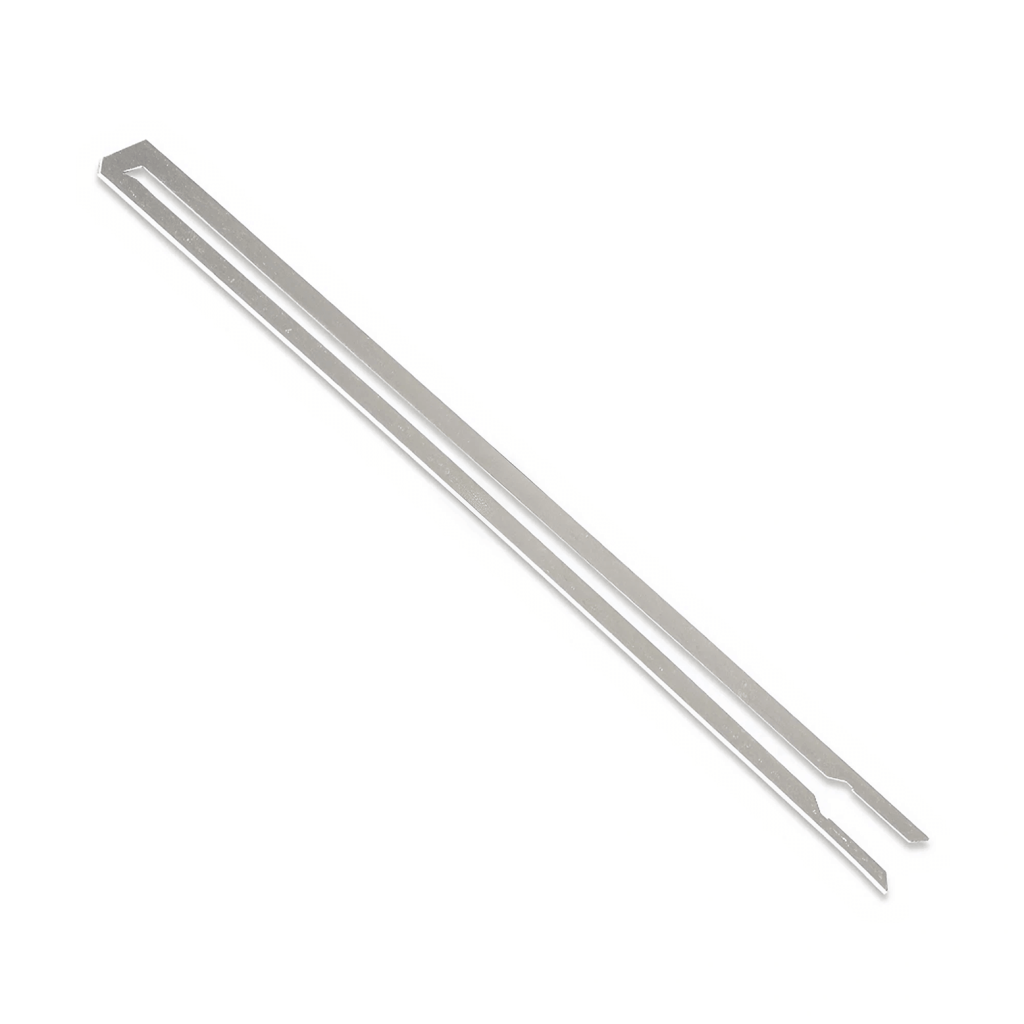
The temperature setting depends on the type of expanded polystyrene and the thickness of the board. Resistance wire for cutting Styrofoam It should be heated to the proper temperature – For standard EPS, the temperature is 250–300°C; for the harder XPS, it’s 320–380°C. When cutting at an angle, it’s best to start with a lower setting and increase it if the blade starts to jerk the material.
Selecting the Temperature Based on the Type of Material:
- Standard White EPS – 250–300°C, medium heat
- Graphite EPS – 280–320°C, slower pace
- XPS (Styrodur) – 320–380°C, slow and even heat
- Soft foams (EPE, EVA) – 200–250°C, faster pace
Always make a test cut on scrap material before starting the actual work. Each batch of Styrofoam may vary slightly, and it only takes a moment to find the optimal settings. It’s better to spend a minute testing than to ruin the material.
Common Mistakes When Cutting at an Angle
The most common mistake is changing the angle while cutting – Even slight fluctuations create a visible wave along the edge. This happens when the operator changes their body position or moves their hand midway through the task. The solution? Before cutting, position yourself so that you can cover the entire length without changing your position.. For long cuts, it's better to move your whole body rather than just your hand.
Another common problem is too fast a pace at the beginning and slowing down at the end. The result: an uneven edge with a characteristic „step” at the end of the cut. Try to maintain a constant speed from the first to the last centimeter. If you feel like you need to slow down, the temperature is probably too low or the material isn’t lying flat. All service and replacement of parts We manufacture our devices in Poland, so if you encounter any technical issues, we'll be there to help right away.
FAQ – Frequently Asked Questions About Angled Cutting with a Hot Knife
How do you set a 45-degree angle on a heat knife without a professional guide?
Use a carpenter's square to draw a line, and place a metal strip against it to serve as a guide. Guide the knife along the strip, maintaining a constant angle between the blade and the surface.
Why do angled cuts come out wavy, and how can I fix this?
Wobbling is caused by a change in the angle during cutting. Get into a comfortable position before you start, and guide the knife with your whole body, not just your hand. Use a guide for long cuts.
Do I need a longer wire or a special blade to make bevel cuts?
Standard wire is sufficient for most angled cuts. Longer wire is only useful for very thick sheets, where the angle significantly increases the cutting path.
How can you cut Styrofoam precisely around windows and in the corners of a building?
Measure the dimensions carefully and mark the cutting lines on the panel. Leave a 2–3 mm gap around the windows for the installation foam. Cut the corners at a 45° angle—the two pieces will fit together to form a perfect corner.