
















Guide
Cutting Shapes Out of Styrofoam – Styrofoam Decorations

3D letters, sculptures, set design elements—Styrofoam is the perfect material for creative projects. Cutting shapes out of Styrofoam requires the right tools and techniques to ensure a professional finish and smooth edges. In this article, you’ll learn proven methods for cutting out decorations, knife-handling techniques, and practical tips for finishing touches. Discover how to create spectacular decorations without expensive equipment!
Heat knife – the best tool for decorative cutting
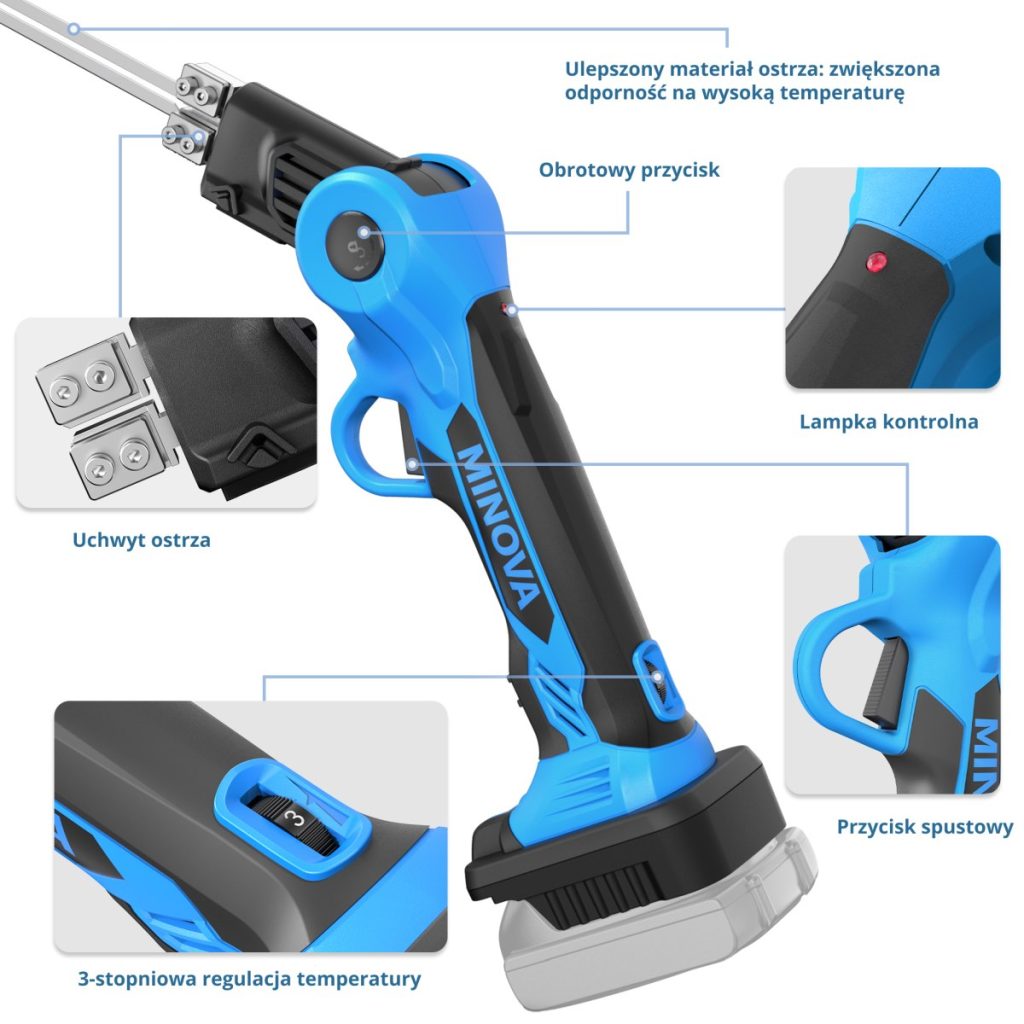
A heat knife gives you complete control over the cutting process and allows you to create any shape you want. Minova 7Y 250W Heat Gun It heats up to 500°C in 3–4 seconds, allowing you to start working without a long wait. The 90–180° swivel head with 5 positions allows you to work at various angles, which is essential when cutting intricate designs.
Advantages of a heat knife in decorative projects:
- Complete freedom of movement – You can create any shape without being limited by straight cuts.
- Smooth edges – The wire melts the material, eliminating fraying.
- Attention to Detail – The thin blade allows for precise cuts.
- Mobility – This lightweight tool doesn't tire your hand during long periods of use.
Three temperature settings (Low/Mid/High) adjust the power output to the thickness of the material. Thin pieces require a lower temperature, while thick blocks require maximum power. A safety microswitch prevents accidental activation, which is important when working with children or when you’re focused on a project.
Techniques for cutting out letters, ornaments, and details
Start by preparing the template. Print the pattern at a 1:1 scale, secure it to the Styrofoam with painter's tape, and trace it with a pencil. Move the knife evenly along the line without stopping in one spot—continuous movement ensures even melting. Miscellaneous thermal knives They come with different blades—choose the ones that are right for the scope of your project.
Steps for cutting complex shapes:
- Preparing the Template – Print it out, attach it to the fabric, and trace the outlines.
- Cutting the outer contour – Start at the edge and move evenly.
- Cutting out internal details – Pierce the fabric and cut from the inside out.
- Edge Finishing – Gently run the knife over the rough spots.
When cutting letters with thin parts (I, L, T), proceed with caution—excessive pressure can break the narrow sections. For letters with holes (O, P, R), cut out the holes first, then the outer outline—this eliminates the risk of damaging the thin walls.
Cutting at an angle and in curves
Cutting at an angle requires precise blade alignment. The rotating head allows the blade to be tilted, which is essential for creating bevels and letter terminals. Techniques described in the article: angle cut show different approaches to bevels. Curves require a smooth wrist movement—guide the knife along the curve without any sudden changes in direction.
When cutting small curves, work more slowly—a fast pace leads to jagged transitions. For large circles, use both hands—one to guide the knife, the other to turn the fabric. For repetitive curves, it’s a good idea to make a cardboard template to use as a guide. Hold the template with one hand and guide the knife along the edge with the other.
Finishing the Edges After Cutting
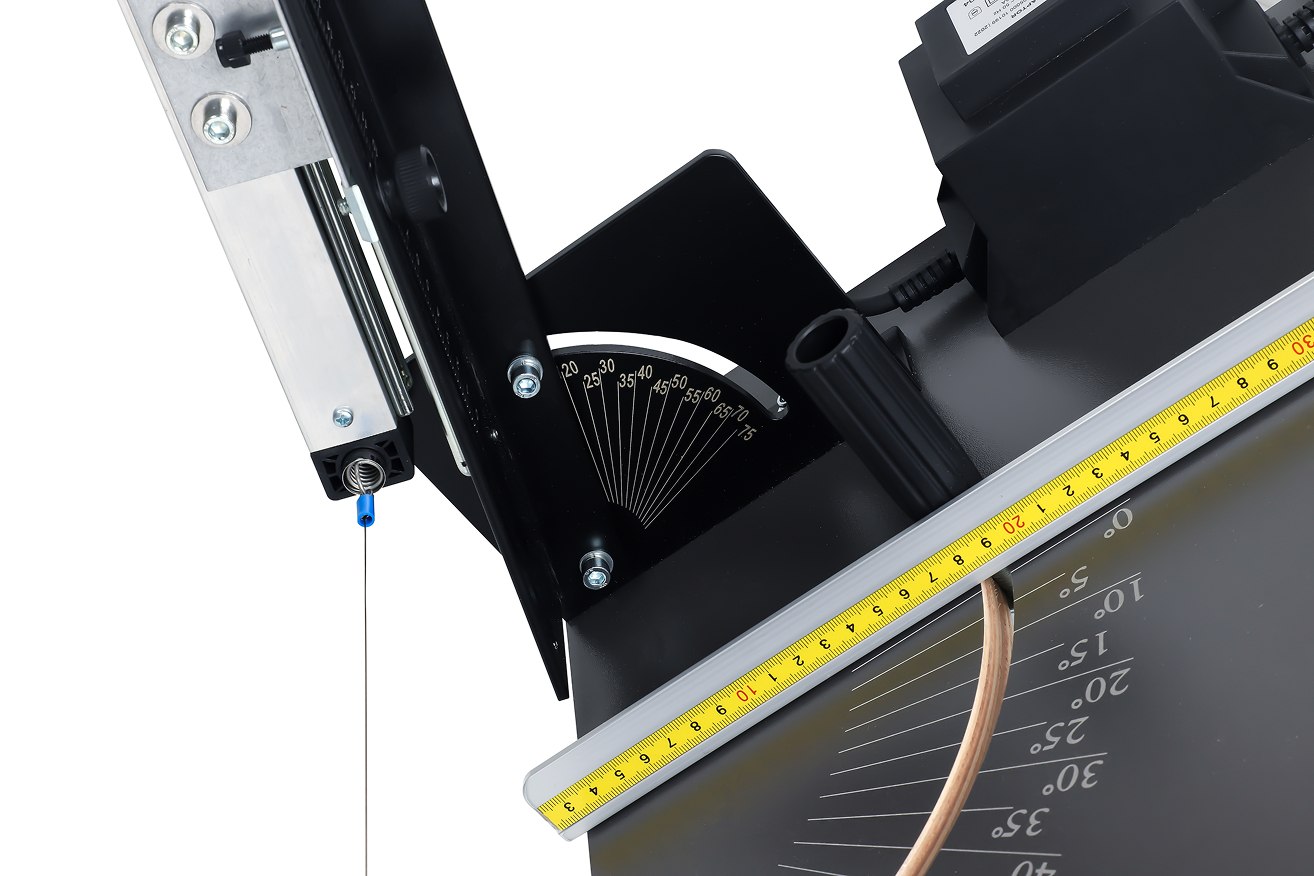
Even the best cut can leave minor irregularities. The finishing step involves gently smoothing the edges with a heated knife or sandpaper. Use the lowest power setting and guide the blade gently, without applying pressure—too high a temperature will melt the material too deeply. Resistance wire When used in cutting machines, it produces a smoother cut than hand tools, but when it comes to decorations, it is the finish that determines the final result.
Edge finishing methods:
- Low-power thermal knife – smooth passage over rough surfaces.
- Fine-grit sandpaper – smoothing by hand without melting.
- Hot air from the blower – Lightly melting the surface without touching it.
- Sanding sponge – The flexible base conforms to the shape.
For elements that need to be painted, finish the edges carefully—paint highlights every imperfection. Gesso or an acrylic primer further smooths the surface and improves the paint’s adhesion.
Top rated products
-
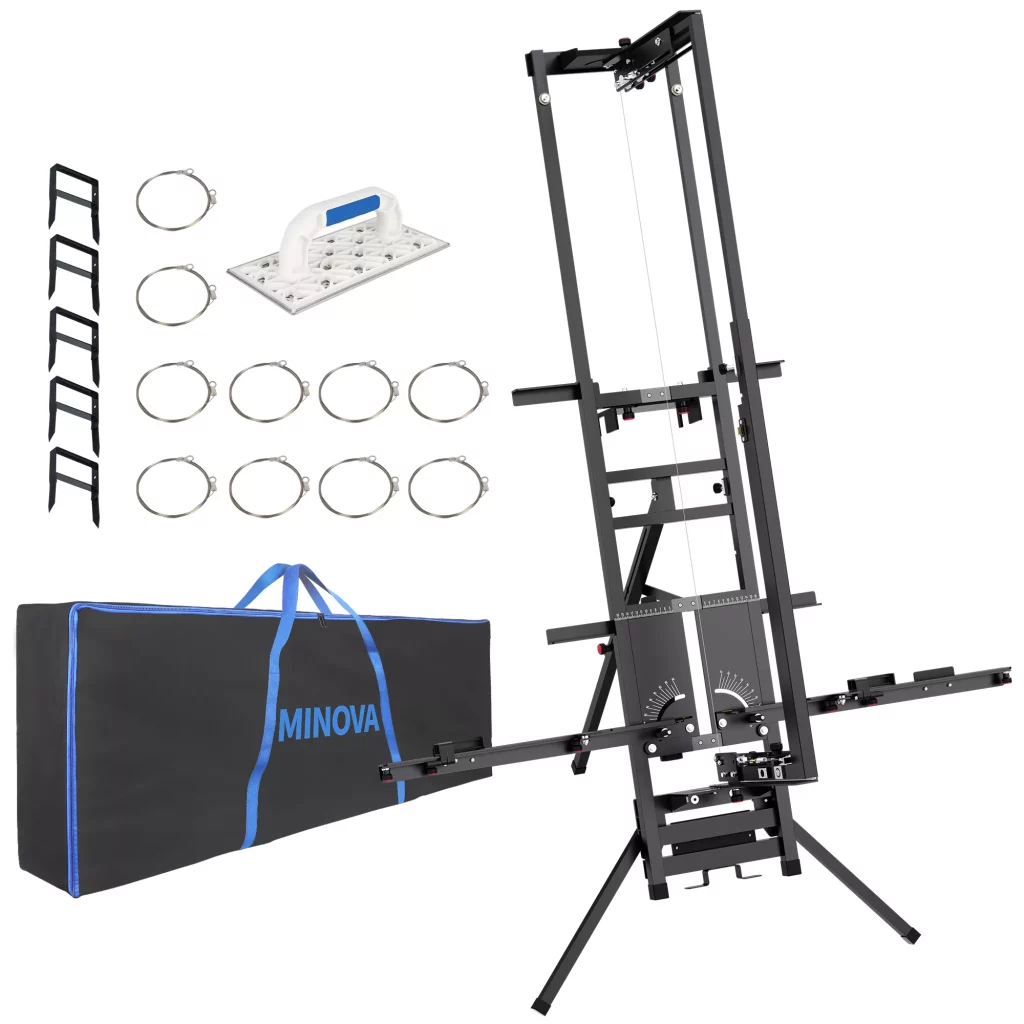
Professional guillotine cutter for cutting styrofoam styrodur Minova ELITE S30 260W
€ 888,00 -
Professional mechanical wool and insulation cutter Minova W101 (18V)
Original price was: € 1.920,00.€ 1.752,00Current price is: € 1.752,00. -
Cutting machine table guillotine for cutting styrofoam styrodur Minova CLASSIC 260W
Original price was: € 312,00.€ 300,00Current price is: € 300,00. -
Styrofoam guillotine cutter Minova Pro 260W (Network + Battery)
Price range: € 491,76 through € 524,38 -
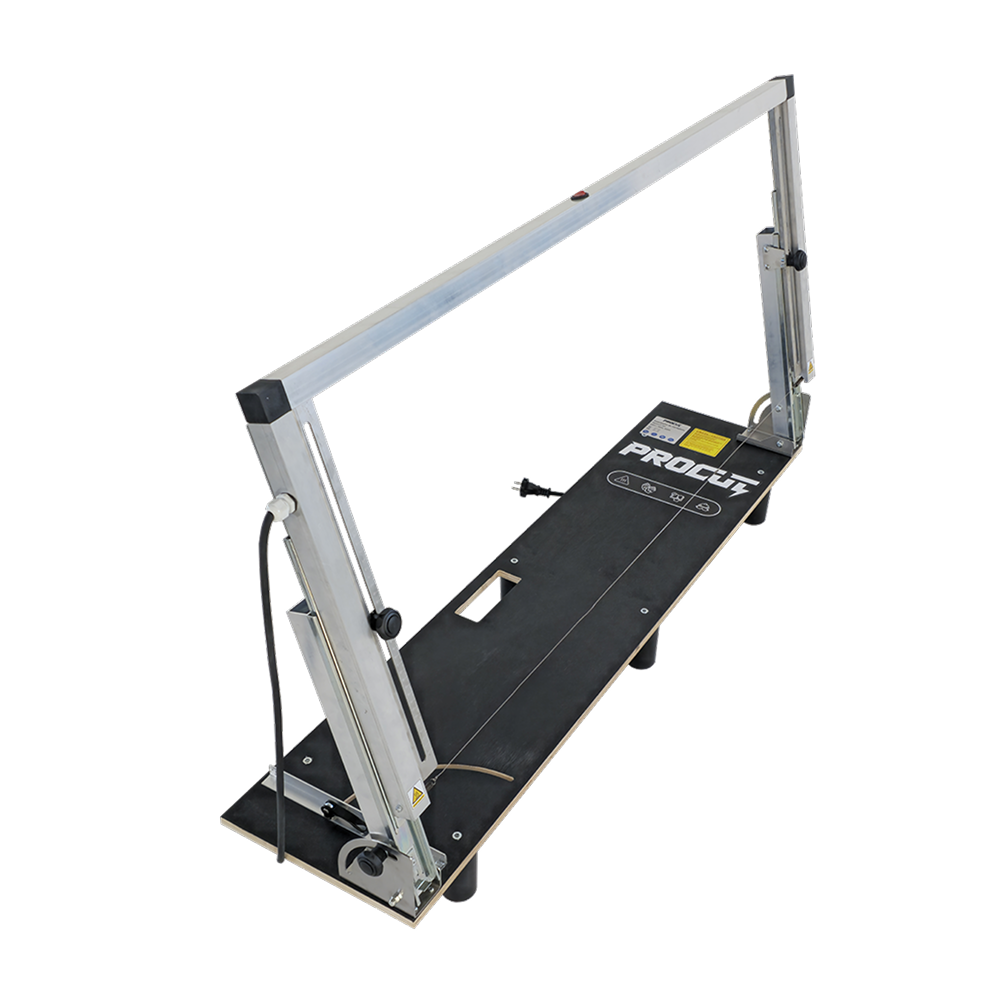
Procut Base 108cm 200W polystyrene cutter
€ 192,00

Decorative Projects in Practice
3D letters are the most popular application. For signs that are 50–100 cm tall, cut out the individual letters from panels that are 10–20 cm thick. Thicker pieces look more impressive, but they require more material and take longer to cut out. W Pro-cut We advise you on how to choose the right material thickness for the scale of your project.
Sculptures and three-dimensional forms take it to the next level. First, cut out the individual layers using the templates, then hot-glue them together. Gradually adding layers allows you to create complex forms—animal heads, architectural elements, and models. Columns and cylindrical elements are created by wrapping the cut sheets around a tube and gluing the edges together.
Cutting Set Pieces Out of Styrofoam
Set design is the primary use of Styrofoam in event production. Elements up to 2–3 meters tall are created by joining smaller blocks together. The stability of large structures is ensured by an internal framework made of wood or PVC pipes, which reinforces the structure. Set pieces must be lightweight for transport but stable on stage.
Surface protection is a crucial step. Papier-mâché or fabric soaked in resin reinforces the surface and protects it from damage during transport. Acrylic paints give the best results—they don’t dissolve the Styrofoam and dry quickly. For large surfaces, use a spray gun with water-based paint—solvent-based paint may melt the material.
Workplace Safety and Preparation
Work in a well-ventilated room. Melting Styrofoam releases fumes that can irritate the respiratory tract with prolonged exposure. An open window or a mechanical exhaust fan is the minimum requirement. Set up your workstation with adequate support—the material must not sag while you’re cutting it.
Safety Rules:
- Use a knife with a safety microswitch.
- Keep your other hand away from the cutting line.
- Wait 5 minutes after turning it off before touching the blade.
- Work on a non-flammable surface—metal or stone, not wood.
Protective gloves protect against accidental contact with a hot blade. Safety goggles prevent small particles from entering the eyes. Take regular breaks when working on large projects – Fatigue leads to mistakes and reduces precision.
Tips for Cutting Styrofoam
Start with simple shapes and gradually move on to more complex ones. Practicing on simple letters (I, L, T) helps you master the technique before moving on to intricate designs. Setting the temperature too high is a common mistake—start on the “Low” setting and increase it only if the cutting is too slow. A sharp blade is essential—a dull one requires more pressure and leads to uneven edges. Replace the blade at the first sign of difficulty in cutting..
FAQ – Frequently Asked Questions About Cutting Decorative Shapes Out of Styrofoam
Can a heat knife handle fine details?
Yes, a heat knife with thin blades works perfectly for fine details—the key is a low temperature and a steady hand that doesn't shake while you're cutting.
How can you prevent the material from melting at the thin edges?
Use the lowest power setting (Low), move the knife quickly without stopping, and do not press down on the blade—light contact is enough to cut through the material.
Can resistance wire be used instead of a knife when making ornaments?
The resistance wire in a cutting machine works well only for straight cuts—for ornaments and curved shapes, a manually controlled thermal blade is essential.